Submitted by furniche
Leather furniture can be a big investment, but thankfully, you can repair it should damage ever befall it!
The Whole Truth & Nothing but the Truth! There are links and ads on this site that pay us a commisson if you "click" and purchase something. This helps us to keep the lights on and continue to provide free content. Thanks! Now you may continue reading!
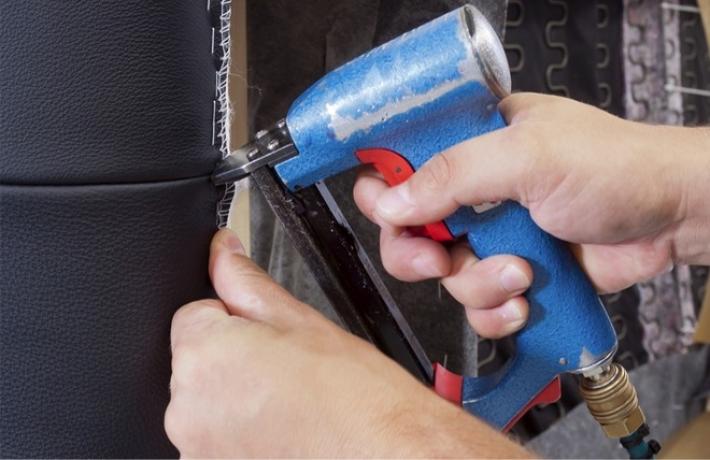
There are professional leather repair services that you can hire for a job well done; however, you can also purchase an in-home leather repair kit and DIY! First, carefully clean the damaged area with a damp cloth. Make sure it is free of dust and lint. Next, using the contents of your repair kit, apply the repair compound to the affected area. Smooth it out with your finger and then allow it to dry entirely. Once it is completely dry, use a very fine sandpaper to ensure it is smooth to the touch. Once the compound process is complete and the tear is bonded, use several layers of the provided protective coating to repair the texture of the damaged area. The first layer should be thin and smooth. Use additional layers to ensure that the entire area is covered. Finally, use a leather conditioner and buff the repair. With a good polishing, you can blend the repaired spot into the natural grain and wear of your leather.
Insider Tip- Practice makes perfect and repairing leather takes skill and expertise. There are many great repair services that will have the skill and expertise to do this for you.
Insider Tip-Visit your local furniture store and see if they have leather samples that are outdated. These are great for practicing your repair techniques.

Failure to plan is the most common furniture mistake. Be sure to check out the wide selection of furniture space planners, color wheels and furniture templates available from Furniche.com